Nixie Clock

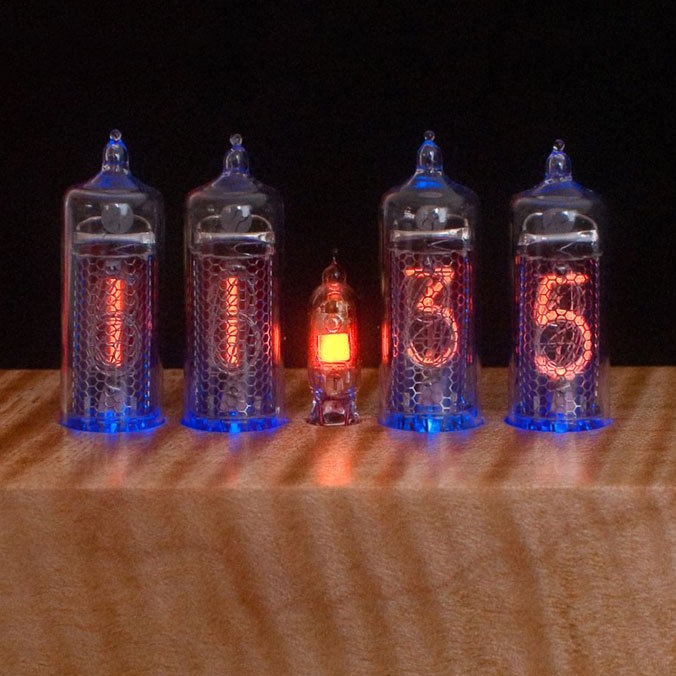

I’ve long been attracted to nixie tubes with their warm, glowing numbers, and wanted to build a clock with them. Not experienced in the high voltage circuitry required, I ordered a kit from TubeHobby. There’s still some DIY in it, but not as much chance of burning down the house as if I tacked it by myself. It took a few years of off and on work (mostly off) to finish the clock, and I didn’t start the project thinking I’d write it up, so please forgive the lack of in-progress photos. I did take a few pictures before I put it together, though, so you could get an idea how it came together.
The kit I ordered was the NCV3.1-16, with four IN-16 tubes about an inch-and-a-half long containing half-inch digits. TubeHobby is in Lithuania, so expect your order to spend some time in transit if you’re not nearby.
Overall, the kit was easy to assemble and well-documented, and putting it together only took a couple of evenings from start to finish. One of the tubes turned out to be non-functional, but after walking me through some troubleshooting to verify the cause, Jonas from TubeHobby shipped a replacement at no cost.
The kit has loads of features, including the date, an alarm clock, and a thermometer. The options menu is deep, too, allowing functions like an auto-on/off so the clock isn’t burning through the tube life while you sleep, temperature offset, time correction, and more. With only two buttons to navigate and manipulate settings, it’s a puzzle to get through everything, but the extras can be ignored and the clock used only as a clock.
My one issue with the kit is that the clock doesn’t retain the time after a power outage. An RTC chip would have been nice, but probably would have increased the size, cost, and complexity.


The kit doesn’t come with an enclosure, so building one was the next step — and the one that took up most of the time as I went through three different cases before I was happy with the result.
First was a plastic project box from Radio Shack, but that looked about like you’d expect. Next, I milled a case from a block of aluminum, but halfway through that decided that the natural warmth of wood would look better with the glow of the tubes than cold metal would. I put the clock on the shelf, caseless for a year, before I found a beautifully figured block of maple and started milling out the interior to hold the electronics.
In the picture you can see the nuts epoxied into the wood to provide mounting points, as well as the various cuts to provide relief for buttons and components.

1/8″ dowels with washers epoxied on as retainers provide a way to push the time-setting buttons from outside the box.


For better ventilation, I didn’t want to have the box resting directly on the table, so I turned some feet out of aluminum and countersunk them for socket head cap screws.

Spacers on the screws hold a piece of acrylic (drilled for air holes) off of the electronics, allowing a look at the innards while protecting curious fingers from a shock.


Leave a comment
Comments will be approved before showing up.
Also in Projects

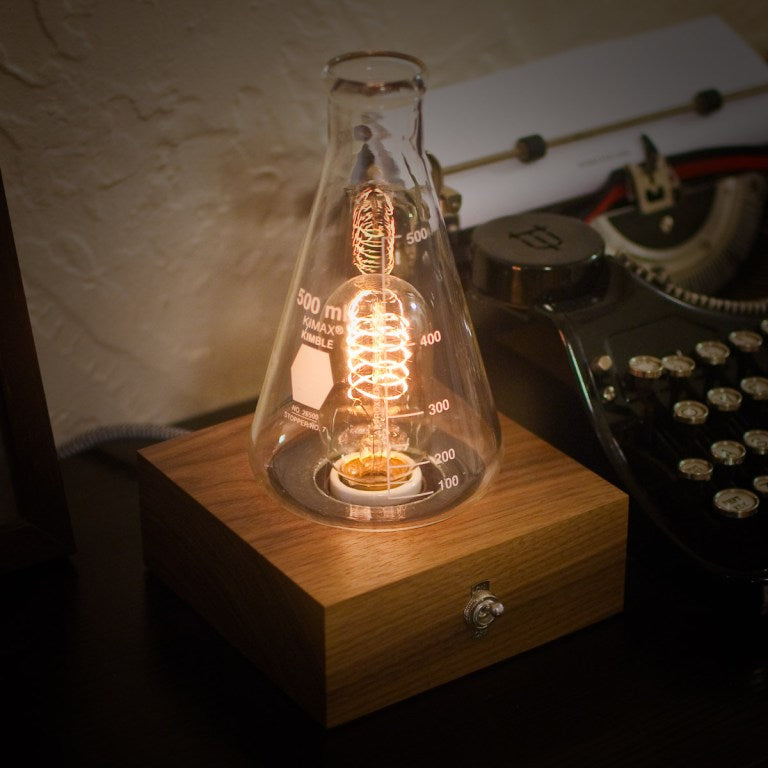
The Laboratory Lamp
First created in 1860, the Erlenmeyer flask has come to symbolize chemistry, and by extension science as a whole. I wanted to use that symbol to create an item of functional decor, and what better for that than a lamp, with the relationship between the light bulb and the “aha!” of an idea?


Garbage In, Garbage Out
For over a decade I’ve had kicking around in my garage’s attic the cases from a couple of old original-style Macintoshes, waiting for just the right project.
One day, after staring at them stacked in my office, I realized that they had a similar form factor to the classic bullet-top garbage cans with the swinging lid. I could give one of these a new (slightly unceremonious) life as a garbage can!

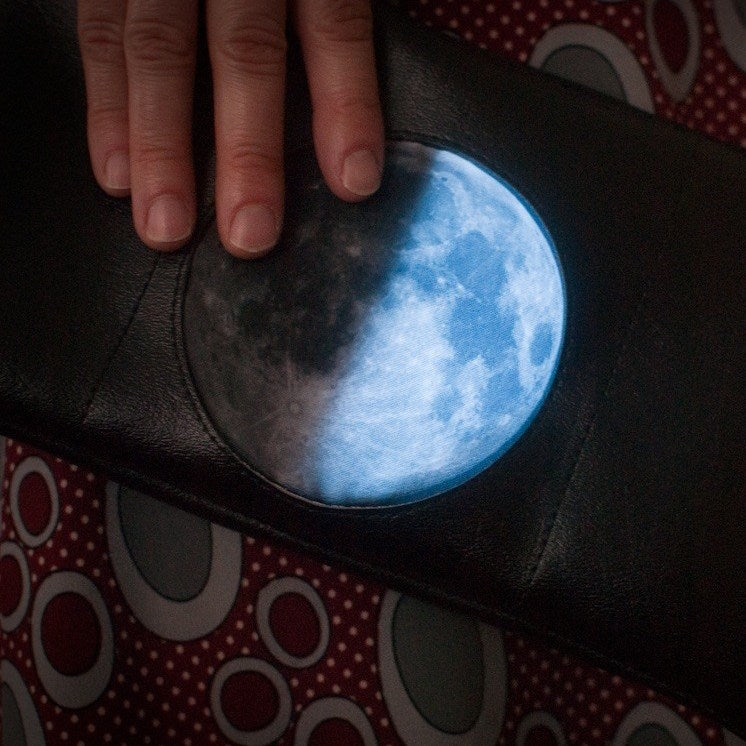
Moon Phase Purse
I’ve been going through a moon phase recently (pun absolutely intended), and thought it would be fun to make a wearable or totable that displayed the current state of the moon. There would be a bit of hardware involved, so a purse seemed like the perfect vehicle—you’re already carrying a load of other things, so there’s no harm in the addition of a small battery pack or a pile of LEDs.